
Well, here it is. My first tutorial. I’m excited!
Yesterday I finished curtains for a friend. She has 3 windows in her kitchen and wanted valances for them. I love making curtains, and these are about the easiest ones to make.
I had gone over last week and measured her windows. We determined how long she wanted them. Her windows were not very big, so the width of the fabric was already wide enough to fit her window with some gather.
To determine the size I needed to cut, I added 3/4” to the bottom for the seam allowance, and then added about 3 inches to the top for the rod and such. This measurement varies on how tall of a ruffle you want on the top, and how big your curtain rod is.
I also used an old white curtain as lining. This will keep the curtains from fading in the sun. I cut these pieces to fit the curtain without any seam allowance.

Well finally, we are ready to begin!! Here are the step by step instructions for putting the curtains together:
1. Fix yourself a cup of coffee
2. Put in your favorite Christmas cd.
(ok, now that we’ve gotten the most important things out of the way...)
3. Depending on your curtains, steps 3-4 may not be necessary. These curtains were made of a solid color material with a strip of printed material on the bottom. So my first step was to sew these two pieces together, right sides together.
4. Then iron your seam open
 5. Next I used the serger on all 4 edges of the curtain. You may just skip this step if you aren’t able to use this shortcut, or you may finish your edges a different way.

7. Lay the lining piece inside these pressed seams. Pin the lining in, making sure that lining will not interfere with the pressed seam. This would keep your seams from laying flat. The lining should be cut so it is just within the seam.
8. Sew together, beginning with the short sides, then the bottom, then the top. Sew about an inch and a half from the top, then again at the bottom of the cut edge. The curtain rod goes through the second casing. This gives a little ruffle on the top of your curtain.

 10. And, you’re done!
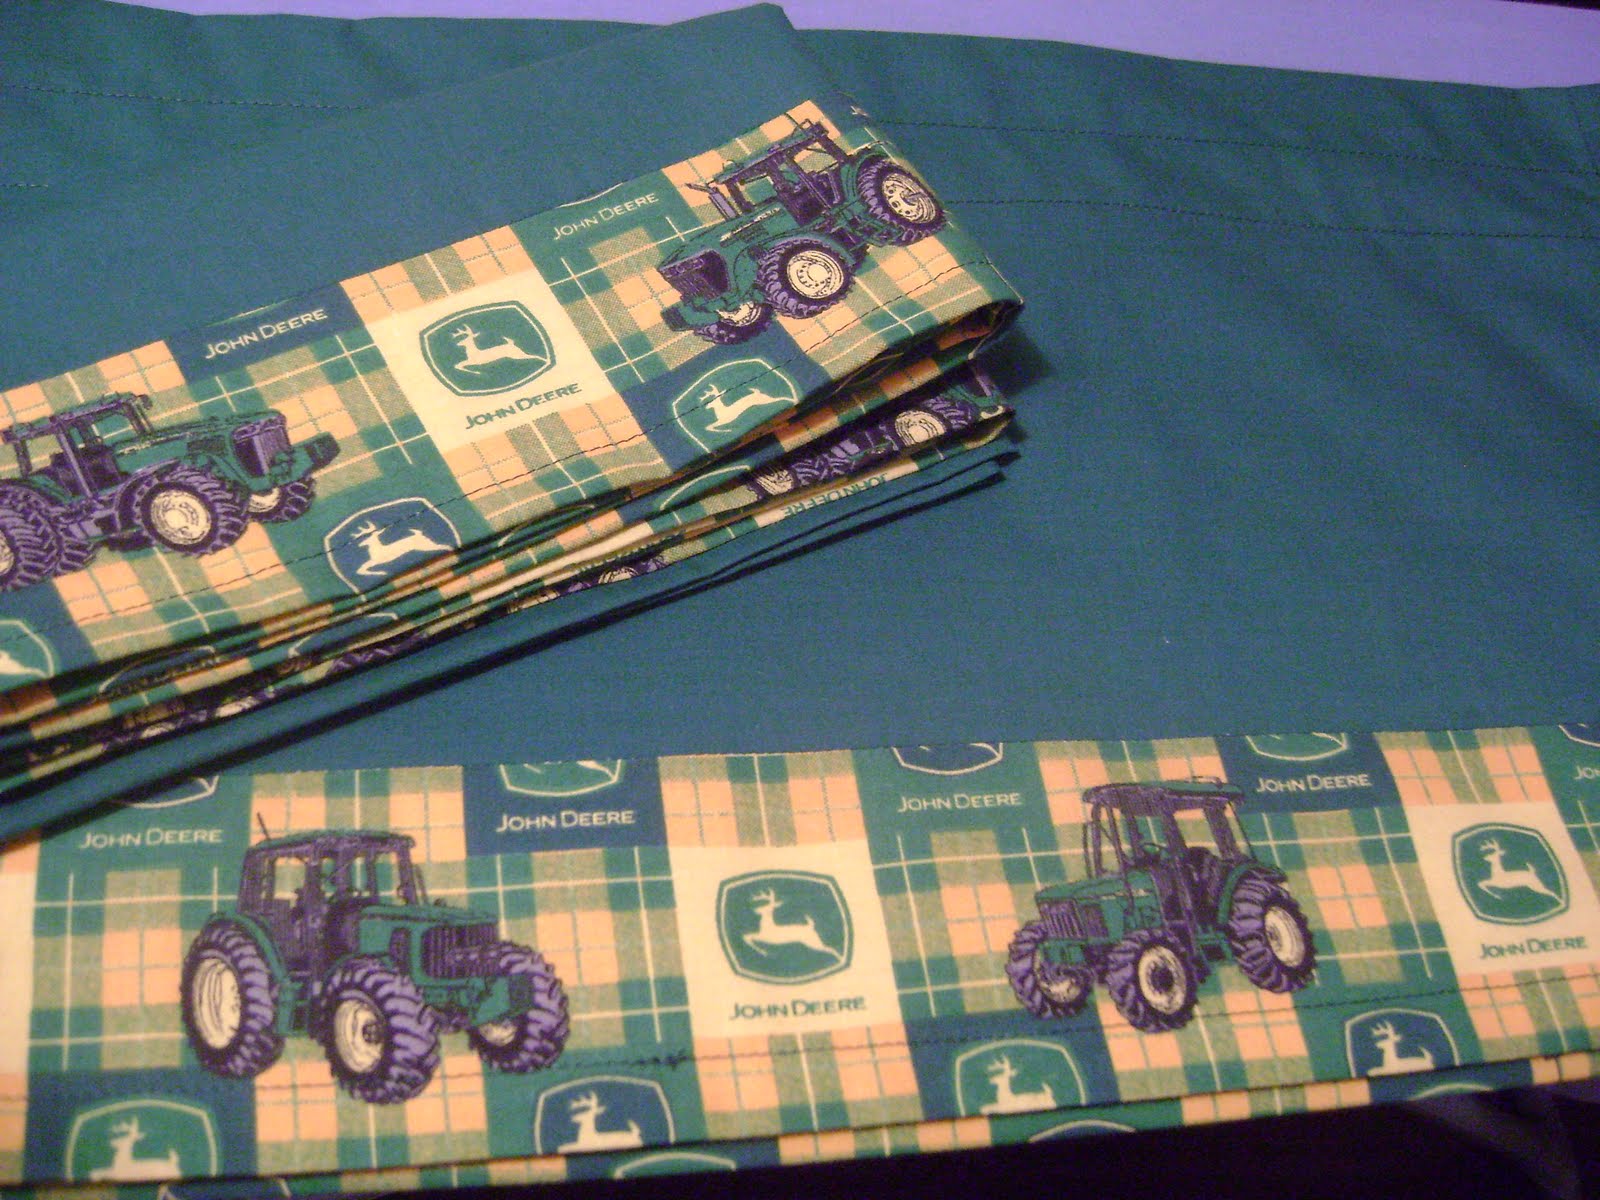 Now, wasn’t that easy? I think you deserve a second cup of coffee for how well you did!
No comments:
Post a Comment
I appreciate you taking the time to comment! Some comments may need to be moderated, so don't be alarmed if your comment doesn't pop up right away. I can't wait to hear from you!