New here? I'm glad you are visiting! You may want to follow this blog so you don't miss miss a post!


Even though it is not necessary to sewing, an Overlock Serger is a very helpful sewing tool. Mine was given to me several years ago, and while I feel like I haven't completely tapped into all its resources yet, I'd like to share it with you today! I use it all.the.time, it truly is a lifesaver!
My serger is a Simplicity Serge Pro. {Here is a similar machine from the Simplicity website.} I find it simple and easy to use, even if it does look a little intimidating!
For instance, these are the tension dials. Tension on this thing is pretty much trial and error for me - I'm still trying to figure it out! The good thing is I rarely have to adjust it.
And lets not even talk about the inside of this thing.
Yeah. Just don't go there. Lets talk about how to use it instead. =)
Just like a sewing machine, the serger has a presser foot and feed dogs that go up and down and help feed the fabric through.
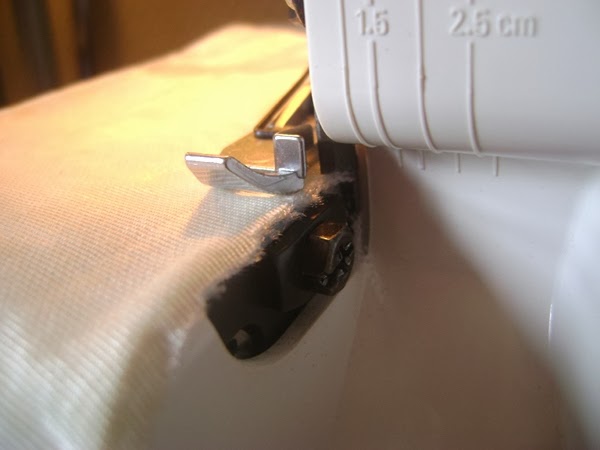
But to the right of the foot, there is an important feature - a sharp edge to take off any fraying threads. This baby is sharp! Make sure you don't put anything under that edge that you don't want chopped off!
To serge the raw edge of anything, just place your fabric under the foot like you would with a sewing machine. Line up the edge of the fabric with the straight edge to the right of the foot. This is where the sewing and chopping will take place.
As you sew, the sharp edge will take care of any little threads coming out...
...leaving you with a nice finished edge...
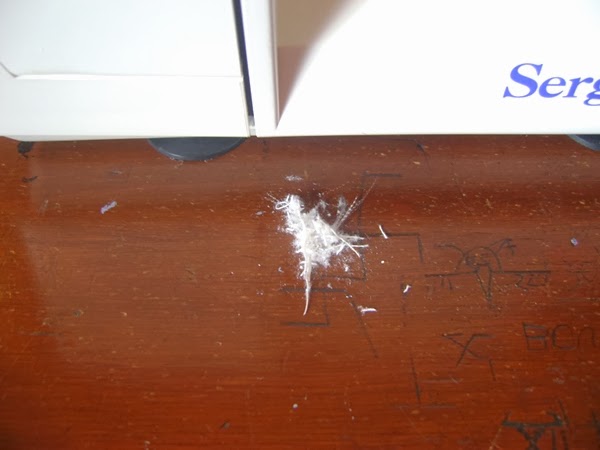
...and a little pile of garbage.
This is great for any edge - seams in clothing, hems, etc. Tomorrow I'll show you how to use this on hems to make the job easier!
You may have noticed only three spools of thread on my machine...
There is room for a fourth, which also means another needle. Thats right, this machine actually takes two needles! When I was given this serger, I was told that the second needle is unnecessary for simple edging, which makes it just that much simpler. So I stick to just three threads, and everything works just fine.
Also, I don't typically thread it. That part is not simple! I usually clip the threads near the spool, tie the new thread on, and just pull the thread through until the new colour is threaded. Much easier!
That's my serger in a nutshell. I'll be showing you more of its uses throughout the week!
Challenge: Do you have a serger? What do you feel are the advantages or disadvantages? What other features does your machine have?
Other posts in this series:
Day 4: Purchasing Notions
Day 5: Helpful Links for beginners
Day 6: Free Art Download (on Discipline)
Day 7: Purchasing Fabric
Day 8: Fabric Prep
Day 9: Studio tour and work spaces
Day 10: Making a straight seam
Day 11: Seam ripping
Day 12: Online fabric stores
Day 13: Free Art Download {on Beauty}
Day 14: Buying a pattern
Day 15: Using a pattern
Day 16: Who needs a pattern?
Day 17: On Having Patience
Day 18: Turning things Right Side Out
Day 19: Helpful links
Day 20: Free Download {a colourful print}


No comments:
Post a Comment
I appreciate you taking the time to comment! Some comments may need to be moderated, so don't be alarmed if your comment doesn't pop up right away. I can't wait to hear from you!